Showing posts with label friends. Show all posts

Tuesday, November 13, 2012

Tutorial Tuesday #9: Bridesmaid Totebags


No comments
Pin It
I am so excited I can finally sit down and blog again. I am also super excited I get to share my first tutorial in forever today! I still have a lot of wedding projects that I never got to share, so don’t be surprised if that’s what most of my tutorials are for a while. Oh, and Christmas crafts. 
Today I want to share with you one of my favorite projects from the wedding. And funny, it wasn’t even a decoration. These were actually my bridesmaids’ gifts.I made a lot of handmade things for my gifts to try to keep it cheap. Because let's be honest, weddings are a rip-off. 


How I did it was really easy but a little time consuming. 
Here's what you need to make your own tote bag

Supplies:


Blank linen tote bag (Hobby Lobby)
Fabric Paints or Acrylic Paints (In whatever colors your heart desires) and Fabric Medium
Masking Tape
Ruler
Freezer Paper
Cricut or X-acto knife and Monogram Template
Foam Brushes

Instructions

1. I taped my bags front and back to make stripes. I used my ruler to help guide where I put the tape and I made my stripes an inch long. You could do any pattern you wanted really, but stripes seemed easiest to me. *Also, make sure you put paper inside of the bag to keep the paint from bleeding through.


2. I mixed 1 part fabric medium and 1 part acrylic paint (brown) and painted my stripes. I ended up doing two to three layers. But be careful, because the tape likes to buckle once you start painting. 
3. After the stripes dried, I took all the tape off. 
4. To make my monogram, I used the same technique as in my Muggle T-shirts and my Keep Calm T-shirts. 


5. I tied a large ribbon around each of them and a stamped "handmade for you" label. 


6. I filled the tote bags with a homemade pumpkin body scrub (recipe found here), a pair of brown flip flops, a hanger I made for each of them, and a makeup bag I had monogrammed with each of their initials. The makeup bag had some of my favorite things in it. Examples - Lipgloss, Essie nail polish, sunglasses (the ones we wore in the pictures), nail polish remover, a small candle, and some other stuff I can't remember. 


And there you have it. My bridesmaid totes. And just for the record, these would be great gifts for any occasion! Not just weddings ;) Hope everyone had a great Tuesday!


Monday, July 16, 2012

Bachelorette Weekend


2 comments
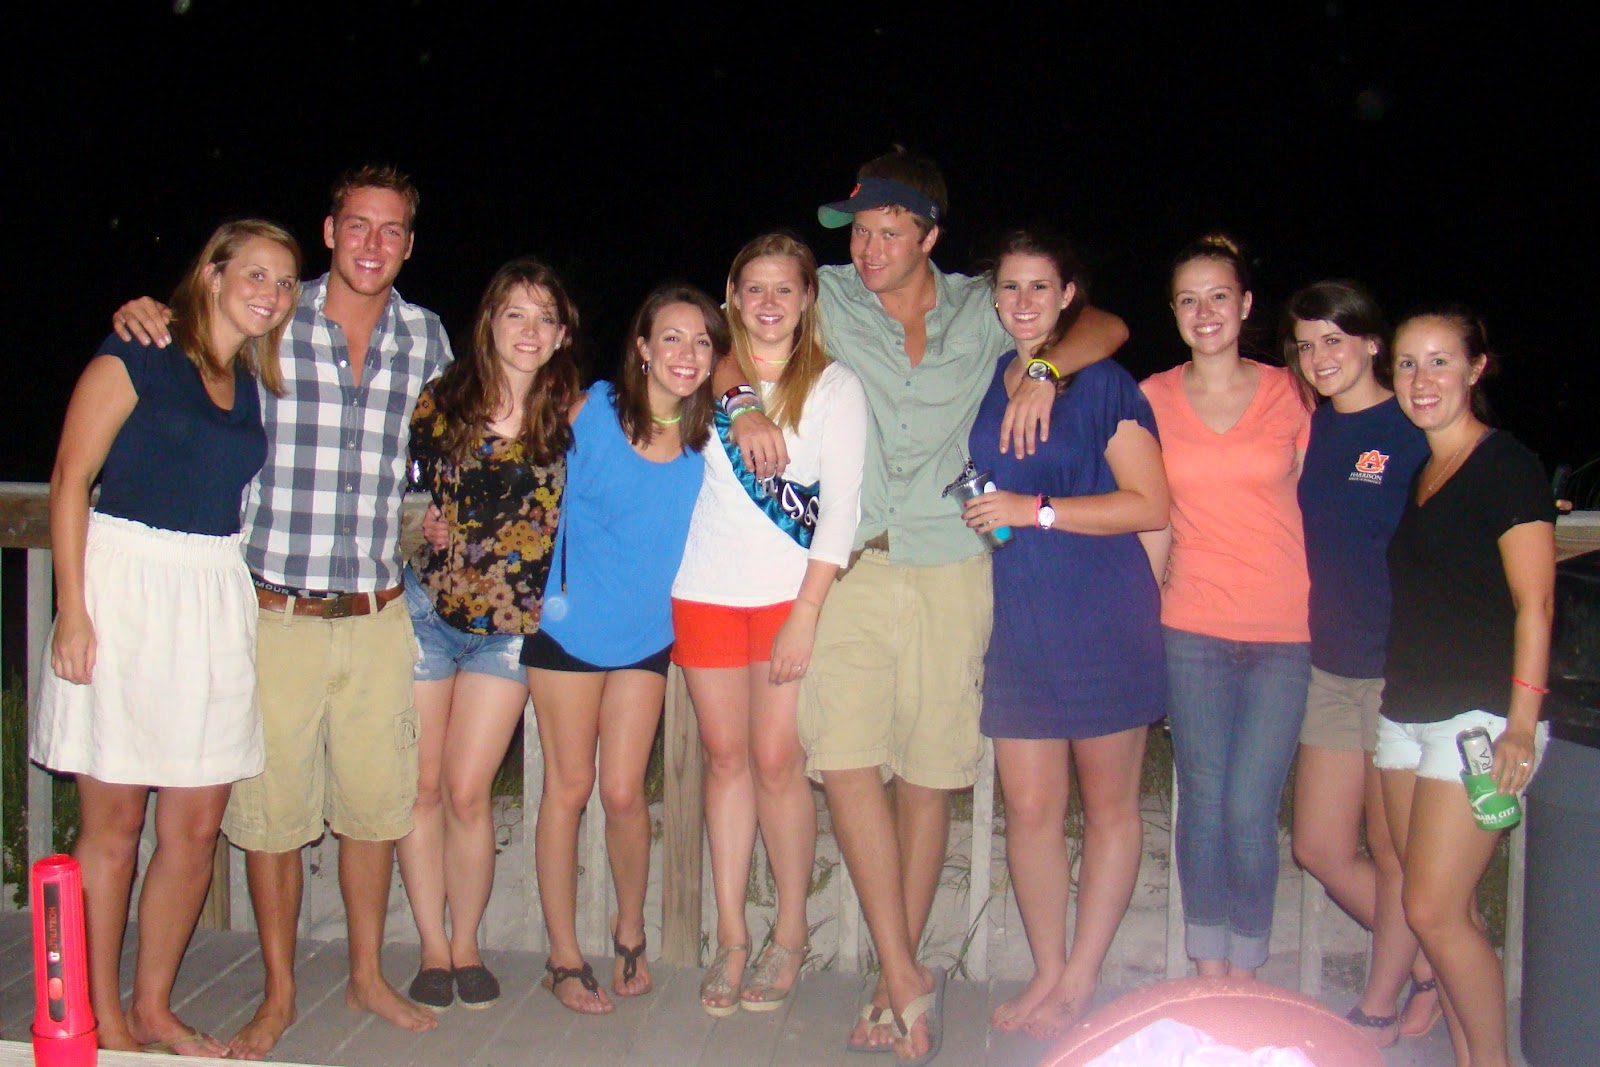
Sorry for being MIA last week. I spent most of last week assembling invites and getting ready for my bachelorette party this past weekend. Needless to say, my sister did a great job and we had a nice, relaxing weekend. Oh, and thanks to the future in-laws for letting us borrow their condo in PCB. Here are a few of my favorite pictures from the weekend! 

Our door sign
 

My sister's beautiful cupcake display
Oh, and the cups in this picture I ended up making as a gift for all the girls that came. Tutorial post to come!


The pretty banner she and a friend made! Also make note of my creepy friends in the bottom right corner. 


Of course I had to take a picture of the pretty napkins and my card


Chips and dip, chicken and cheese crescent roll-ups, and buffalo chicken dip. It's making my mouth water just to see this picture. It was all so delicious.
 

Our chocolate fondue we had for dessert the second night. Noms.


Told you she did a fabulous job. I couldn't ask for a better maid of honor!

Pool time


Hanging out on the beach the first night
My sis also made that sash!
 

Sisters
 

Our condo neighbors and all my girls
 

She loves me
 

My Auburn loves
 

Lingerie ;)
 

My awkward palm-tree. I'm truly the most awkward person ever
 

They wrote down my silly quotes while opening my lingerie and read them back to me as "What I'm going to say on our wedding night." So funny. Everyone should do this.
 

This was my reaction. I mean seriously people, you cannot make this up.
 

Beach day!


Drive to dinner
 

The group at Spinnaker's
 

Helping me make a crown out of toilet paper to cross off my list
 

The finished product
 

So there you have it! A little glimpse of my bachelorette weekend! If I post anymore, it'll give too much away ;) Now if October would just get here already! Hope everyone had a happy Monday!


Tuesday, June 5, 2012

Tutorial Tuesday #1


8 comments
Pin It
So, I've decided to try a weekly theme to help me stay motivated to update my blog and give it a little more organization. It may also help me branch out and post about things other than just crafts. I mainly hope this helps when school starts back in August. But for now, I don't want to think about school. As you can see, today is my first "theme" - Tutorial Tuesdays. Since this was kind of a spur the moment idea, today's tutorial isn't anything special. In fact, I've actually already done it before with my Muggle T-shirts. 

The BFF and I spent the last 2 weeks of school before summer making and re-making our summer bucket lists. We're slightly crazy, we know. The biggest thing on our bucket list was crafting, crafting, and more crafting. (Remember the last item on my summer bucket list post?) Mainly because we spent so much of our study time whining about how we would rather be crafting. So, here's to getting it out of our system. 

After deciding our whole summer would be spent crafting, we also decided we needed appropriate T-shirts for the occasion. Why? Because we are super duper cool. That's why. See?


We got the inspiration from all of the "Keep Calm" posters always seen on Pinterest and in the blog world and used the same technique as my Muggle shirts I made for the Harry Potter and the Deathly Hallows Part 2 premiere.  We were actually able to find and downloaded the Keep Calm font. I then used my Cricut and the Sure Cuts a Lot software I have on my computer. The only problem with this is that the SCAL only works with the hardware on the Cricut Personal (the first one ever made). Although, this was much easier than printing it out and cutting the font with an X-acto knife, the X-acto knife method will still work, but will require much more patience. Then we ironed the words on and went to painting.


And these were our final results!


I think we are all set to craft away the summer. What do you think?
Happy Tuesday!!


Tuesday, February 14, 2012

Happy Valentine's Day!


7 comments
Happy Valentine's Day!
Between all the sweets from my classmates, coffee, and facebook, it has been exceptionally hard to pay attention in class this morning. I can officially show you all my VDay projects I've been working on since I finally distributed them today! But first, I wanted to show you my valentine's "mantel" ....since I never really got around to doing that and I'm kinda proud of it.


I made the topiaries last year and I got the little bears from Hobs Lobs during their VDay clearance on year.


The letters are just chipboard letters covered in paper and stickers


The banner I made from cutting hearts out of paint chips. Paint chips = free!


Last night, I got my Betty Crocker/Martha Stewart on and made some sweets. One of the desserts I made is for VDay dinner with the fiance. So, I can't show you that yet. But, for my classmates, I made strawberry cupcakes (from a box, of course) with homeade cream cheese icing. I'll post the recipe another day.


I also made special valentines for my close friends. I saw the idea on some craft blog a while back and I thought it was perfect for med school. Because it's something that we all use everyday to study. It's a little bit cheesy, but that's okay. 
Highlighters!


This weekend, I bought some Samoa girl scout cookies while I was out with the fiance. I know he likes them, so I figured I'd incorporate a few into his VDay gift. I thought up a super cheesy saying to go along with them (since everything else I made was cheesy). I probably wasn't the first to come up with it, but I thought I was funny so I'm going to pretend I did. Don't judge.


For all of the gifts, I just packaged them in ziplock bags, rolled down the tops, cut a strip of festive paper to fold across the top and pinned it all together with a wooden clothespin and my handwritten message! I feel like that's enough Valentine's Day stuff thrown into one post to make anyone want to gag. So, I promise I'll stop now. (But mainly because there is nothing left to show you). Hope everyone is having a great day with the ones they love (whether it's a special someone, friends or family!)


Tuesday, February 7, 2012

Life Update


1 comment
Monday officially began our Pulmonary module. Yay, lungs.
I'm loving this organ based curriculum. So incredibly organized compared to last semester.
Not to mention, it makes me giddy to be learning so much doctor stuff.
I'm also one of the course representatives for this module. Can't wait to start getting emails from classmates with all their questions. Haha.

Last Friday was our final for the Cardio module and it went better than expected.  The weekends after a big test like that are practically mini vacations in my mind, so, needless to say, this weekend was full of productivity and fun.

Friday morning I headed to my parents' house to see my mom and do some laundry (thanks mom).  That evening I ventured to Tuscaloosa (ick) to stay the night with my sister and do a little wedding planning while we watched some Harry Potter. And by wedding planning, I mean we cut out a bunch of pictures from magazines. Heh.
Saturday we spent the day visiting dress shops to try on bridesmaids dresses. Except, only one of the stores actually ended up having bridesmaids dresses. Google lied. We eventually ended up getting coffee and shopping around. That night the fiance and I got to visit and have dinner with our college friends. We also spent Sunday watching the Super Bowl with them and by the time that was over, so was the weekend. I always end up wishing weekends are longer.

What did you do this weekend? Or, even better, what are you doing this coming weekend?
I'm looking forward to our school's Little Red Dress party this Friday in honor of cardiovascular disease. As long as I can make it through these next three days! :)


Thursday, October 27, 2011

BOO!


No comments
Last week while I was on Fall Break, I got to enjoy some quality craft time.
And, I got to enjoy it with a friend. Even better.
So, I wanted to show you guys our cute Halloween craft (before Halloween is over).


We had been searching like crazy for Halloween crafts on Pinterest prior to fall break and decided on one like this so we could break out the mod-podge.
However, the mod-podge turned out to be a bad idea when I dropped the bottle on the floor while trying to put the cap on.  It splattered all over my floor and jeans and I now have these lovely large white streaks all across my super-faux hardwood floor. But now, everytime I see them, I am reminded of the super-fun memories of our craft day! Too much? Yeah, probably.

Okay, so, if you want to have your own super-fun craft day and mod-podge adventures, then here's what you need:
  • Wooden letters (what I used) or chipboard letters (what R used) - we spelled "BOO" but you could also do "EEK" or anything else really.We kept it simple.
  • Mod-podge (we like the matte kind)
  • Halloween scrapbook paper
  • Paint (colors that match your paper)
  • Paintbrush, x-acto knife or scissors, and a pencil
  • Sticker embellishments

 What you do:
  • Paint your letters
  • Trace letters upside down on the opposite side of the paper that you want to show
  • Cut letters out with x-acto knife (You can also use scissors, the x-acto knife just gives cleaner cuts)
  • Brush a layer of mod-podge onto your letters and position the paper letters on top.
  • Brush a layer on top of your paper. (I always let that layer dry and do another one)
So excited


Hard at work


R's almost finished letters


My finished letters


The bat is my favorite :)


Only 4 days until candy!


LinkWithin

Related Posts Plugin for WordPress, Blogger...