Sunday, December 9, 2012

Fish Tacos


1 comment
Pin It
So the hubs and I decided to start a weight loss competition this past Monday between us and another married couple that we're friends with. In doing so, we've been trying new recipes to cut down on eating out. Needless to say, we've also been trying to make healthy recipes. Well last night I think we hit the jackpot of all recipes: fish tacos! It was literally one of the most delicious and satisfying healthy meals I have ever had. It's no pizza or macaroni, but I didn't feel like a disgusting cow after I ate it either. So, I decided to share with you. Because I think you'll love it too!


I mean, my mouth is watering just looking at this picture. I really wish we had had leftovers. 

Ingredients:

3/4 c fat-free plain Greek yogurt
1/4 c fresh cilantro, chopped
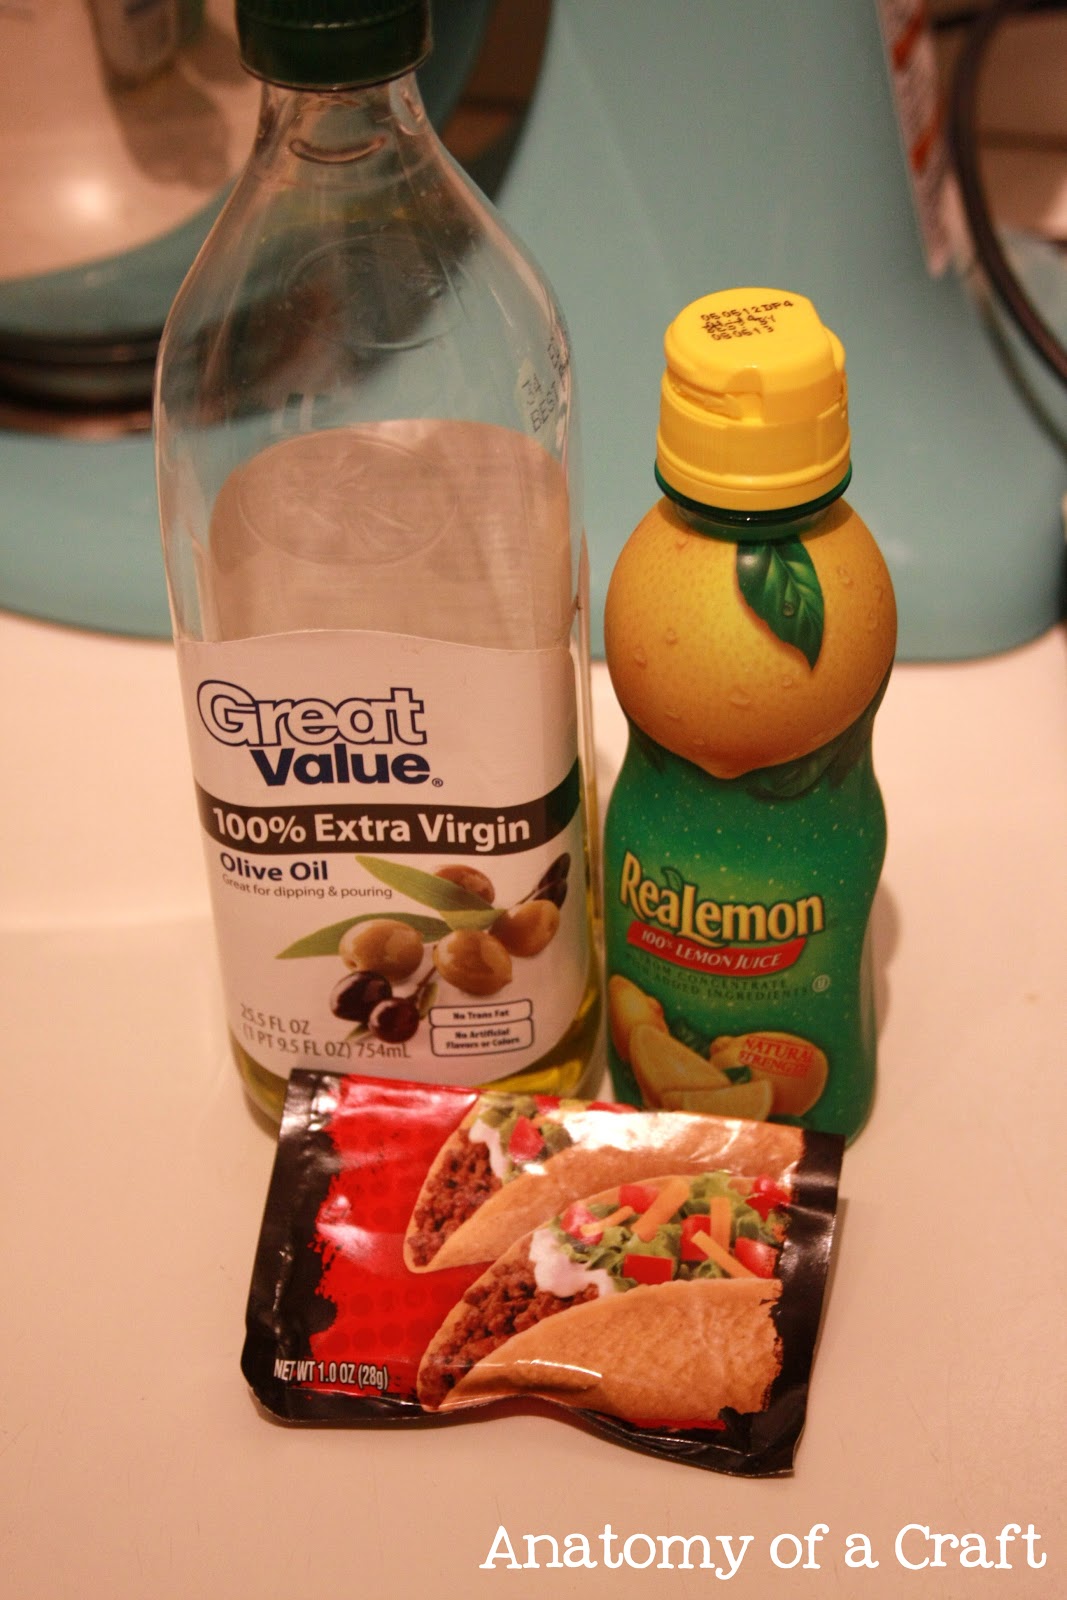
4 Tbsp low sodium taco seasoning
1 lb white fish fillets, cut into 2 inch pieces
2 tsp olive oil
Juice from 1 lemon or 2-3 Tbsp lemon juice
Shredded cabbage
2 Roma tomatoes, diced
1 avocado, sliced or diced
1/2 red onion, diced
Package of small flour wheat tortillas

How to make:

Combine plain yogurt, cilantro, and 2 Tbsp taco seasoning mix into a small bowl. Set aside.


Combine the olive oil, lemon juice, and the rest of the taco seasoning into a small bowl. 


Cut the fish.


Place the fish on a tinfoil covered baking sheet and brush the olive oil mixture onto the pieces. 


Broil on high for 5-10 minutes or until fish is flaky. While the fish is cooking, chop your veggies. (And if you're new to cooking, make sure you wash your cutting board free of fish juice). We don't need anybody getting sick.


Warm up your tortillas in the microwave. You could also use corn tortillas to make it even healthier, but I absolutely detest the texture of corn tortillas. So we went with wheat flour tortillas. 


Spread some of your Greek yogurt mixture onto your tortillas. 


Add your fish and top with tomatoes, avocado, onion, and shredded cabbage. And if you're a sauce person like me, I added more of the yogurt mixture on top!


And there you have it. Some healthy fish tacos. Bon appétit! Hope everyone is enjoying their weekend!


Tuesday, December 4, 2012

Tutorial Tuesday #10: DIY Napkin Holders and Christmas Tablescape


1 comment
Pin It
Hope everyone had a wonderful Thanksgiving holiday! I can't believe it's already December. Holy cow. But I'm so glad it is because with the month comes Christmas movies, drinking hot chocolate in excess amounts, the justification to pig out on every dessert imaginable, and all things red and green. Oh, and penguins. I love penguins. Obsessed is probably the better word to use. Today I want to show you my Christmas tablescape and my super easy and festive DIY napkin rings.


I mean, these were seriously easy and they make such a big impact on my table! Here's what you need to make your own. They literally take like 3 minutes. 


 Supplies:

Hot Glue Gun
Bouquet of small poinsettias 
(I got mine at Old Time Pottery for $1)
Elastic Hairties
To put them together, I cut the stems off the flowers and hot-glued the flowers to the hairties. The gold balls were actually on another bouquet of poinsettias that I bought at the same time. I thought they added an extra pop. I just cut them off of their original bouquet and stuck it through the holder. And there you have it. Super easy 3 minute napkin holders for your Christmas table!


I pretty much love them. I ended up changing my placemats to the ones in the picture below because I had forgotten I had them and I liked them better than the ones in the pictures above. Pardon the terrible picture quality of my tablescape. I ended up taking these on my phone. Also ignore the mess in the background!


The tablecloth was one of our wedding gift card purchases and we will be able to use it year round. The chargers and napkins were from Old Time Pottery as well. OTP is the best. So cheap. I bought the votive holders and the glass Christmas tree a long time ago. Pretty sure I got them at Wal-Mart after Christmas one year when everything was on sell.  It's really simple but as a poor medical student, simple is really all I can do. That's all I have for today! Have a wonderful rest of the week!


Tuesday, November 13, 2012

Tutorial Tuesday #9: Bridesmaid Totebags


No comments
Pin It
I am so excited I can finally sit down and blog again. I am also super excited I get to share my first tutorial in forever today! I still have a lot of wedding projects that I never got to share, so don’t be surprised if that’s what most of my tutorials are for a while. Oh, and Christmas crafts. 
Today I want to share with you one of my favorite projects from the wedding. And funny, it wasn’t even a decoration. These were actually my bridesmaids’ gifts.I made a lot of handmade things for my gifts to try to keep it cheap. Because let's be honest, weddings are a rip-off. 


How I did it was really easy but a little time consuming. 
Here's what you need to make your own tote bag

Supplies:


Blank linen tote bag (Hobby Lobby)
Fabric Paints or Acrylic Paints (In whatever colors your heart desires) and Fabric Medium
Masking Tape
Ruler
Freezer Paper
Cricut or X-acto knife and Monogram Template
Foam Brushes

Instructions

1. I taped my bags front and back to make stripes. I used my ruler to help guide where I put the tape and I made my stripes an inch long. You could do any pattern you wanted really, but stripes seemed easiest to me. *Also, make sure you put paper inside of the bag to keep the paint from bleeding through.


2. I mixed 1 part fabric medium and 1 part acrylic paint (brown) and painted my stripes. I ended up doing two to three layers. But be careful, because the tape likes to buckle once you start painting. 
3. After the stripes dried, I took all the tape off. 
4. To make my monogram, I used the same technique as in my Muggle T-shirts and my Keep Calm T-shirts. 


5. I tied a large ribbon around each of them and a stamped "handmade for you" label. 


6. I filled the tote bags with a homemade pumpkin body scrub (recipe found here), a pair of brown flip flops, a hanger I made for each of them, and a makeup bag I had monogrammed with each of their initials. The makeup bag had some of my favorite things in it. Examples - Lipgloss, Essie nail polish, sunglasses (the ones we wore in the pictures), nail polish remover, a small candle, and some other stuff I can't remember. 


And there you have it. My bridesmaid totes. And just for the record, these would be great gifts for any occasion! Not just weddings ;) Hope everyone had a great Tuesday!


Wednesday, October 31, 2012

I Got Married!


5 comments
I obviously went on a blog hiatus for the past two months. I started school back at the end of August (which has been crazy busy by the way) and had so much last minute wedding planning to do that I just could not keep up with the blog. So I decided to just stop and wait until after the wedding/honeymoon. Well, it's all officially over. It's bittersweet that everything is over but I am so so glad I don't have to plan anymore. Trying to plan and do med school was draining and stressful and it was keeping me from doing non-wedding related crafts! Needless to say, I can't wait to start doing things off my ever-growing list of "things I want to make or do." But for today's post, I just want to share a few of my favorite wedding memories. 

 Reading my letter from the groom
First Look with Dad

 My Lovely Friends
Auburn Friends
There's a funny story behind the Unity Candle
 Mr. and Mrs.
 Baby Brother
 His groomsmen gave him medical instruments
 First Dance
 Father-Daughter Dance
Classmates
 Wobble
Gangnam Style
 He went to the wrong leg
Train

It was a beautiful day for a wedding and I couldn't have asked for anything more perfect. Happy Thursday!


LinkWithin

Related Posts Plugin for WordPress, Blogger...