Showing posts with label kitchen. Show all posts

Sunday, December 9, 2012

Fish Tacos


1 comment
Pin It
So the hubs and I decided to start a weight loss competition this past Monday between us and another married couple that we're friends with. In doing so, we've been trying new recipes to cut down on eating out. Needless to say, we've also been trying to make healthy recipes. Well last night I think we hit the jackpot of all recipes: fish tacos! It was literally one of the most delicious and satisfying healthy meals I have ever had. It's no pizza or macaroni, but I didn't feel like a disgusting cow after I ate it either. So, I decided to share with you. Because I think you'll love it too!


I mean, my mouth is watering just looking at this picture. I really wish we had had leftovers. 

Ingredients:

3/4 c fat-free plain Greek yogurt
1/4 c fresh cilantro, chopped
4 Tbsp low sodium taco seasoning
1 lb white fish fillets, cut into 2 inch pieces
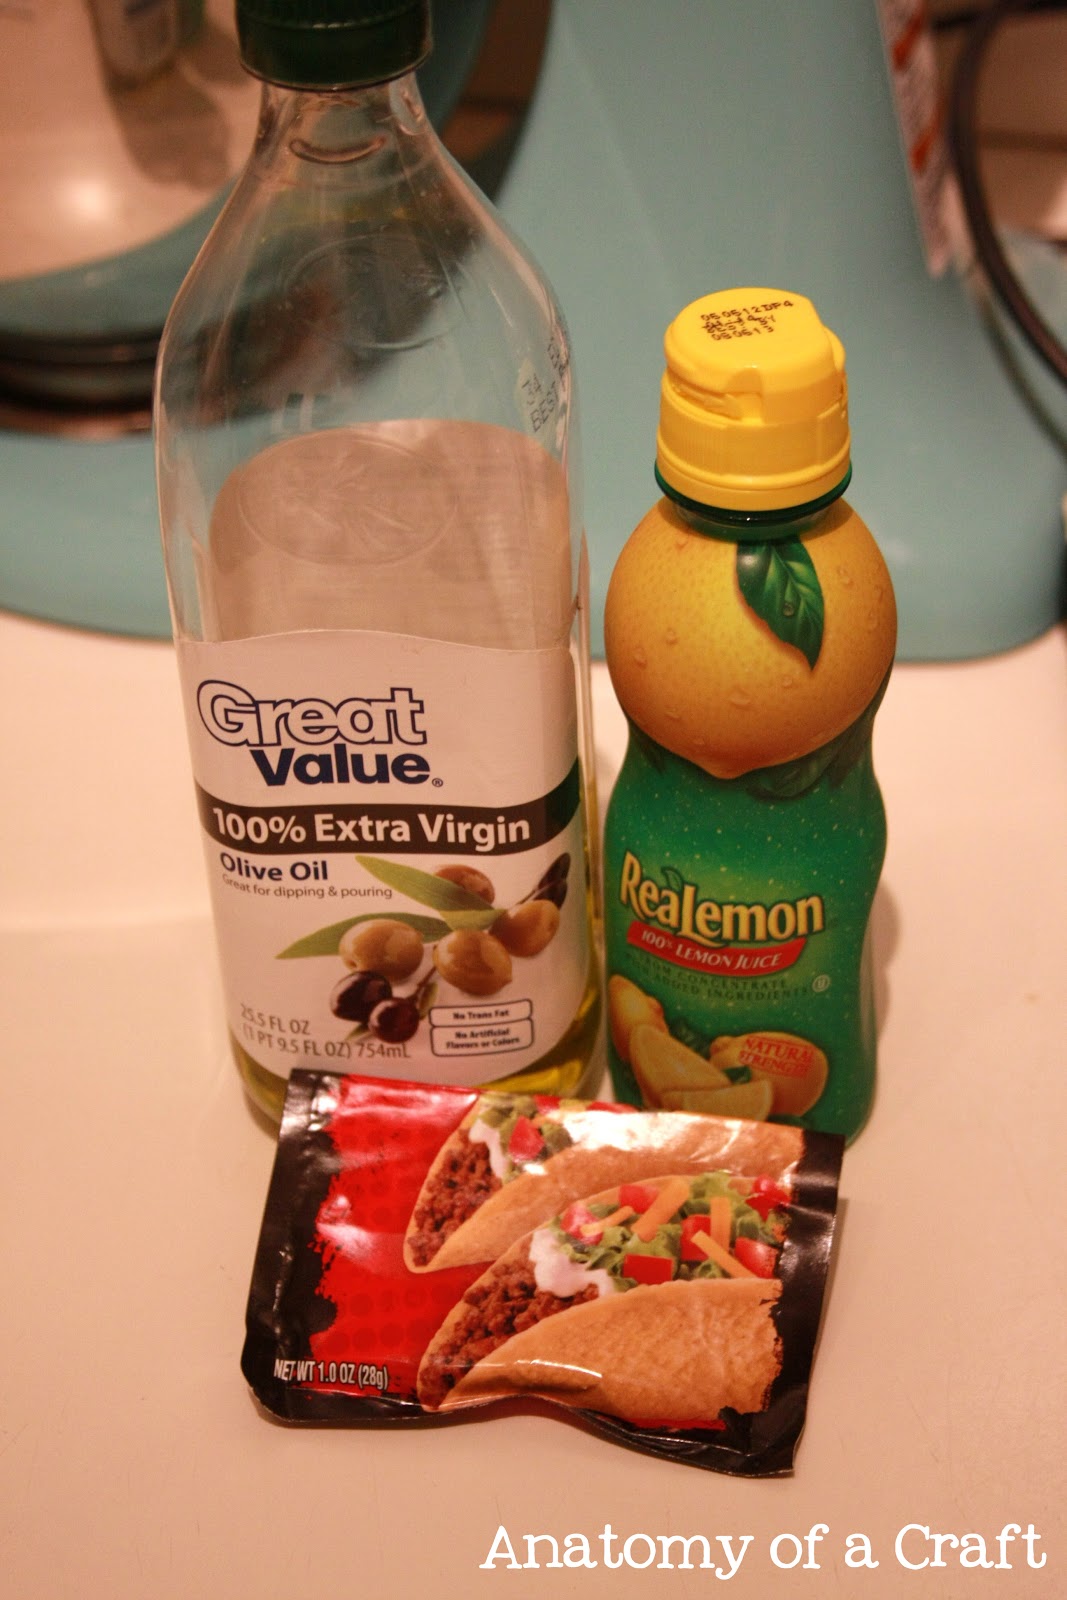
2 tsp olive oil
Juice from 1 lemon or 2-3 Tbsp lemon juice
Shredded cabbage
2 Roma tomatoes, diced
1 avocado, sliced or diced
1/2 red onion, diced
Package of small flour wheat tortillas

How to make:

Combine plain yogurt, cilantro, and 2 Tbsp taco seasoning mix into a small bowl. Set aside.


Combine the olive oil, lemon juice, and the rest of the taco seasoning into a small bowl. 

Cut the fish.


Place the fish on a tinfoil covered baking sheet and brush the olive oil mixture onto the pieces. 


Broil on high for 5-10 minutes or until fish is flaky. While the fish is cooking, chop your veggies. (And if you're new to cooking, make sure you wash your cutting board free of fish juice). We don't need anybody getting sick.


Warm up your tortillas in the microwave. You could also use corn tortillas to make it even healthier, but I absolutely detest the texture of corn tortillas. So we went with wheat flour tortillas. 


Spread some of your Greek yogurt mixture onto your tortillas. 


Add your fish and top with tomatoes, avocado, onion, and shredded cabbage. And if you're a sauce person like me, I added more of the yogurt mixture on top!


And there you have it. Some healthy fish tacos. Bon appétit! Hope everyone is enjoying their weekend!


Tuesday, December 4, 2012

Tutorial Tuesday #10: DIY Napkin Holders and Christmas Tablescape


2 comments
Pin It
Hope everyone had a wonderful Thanksgiving holiday! I can't believe it's already December. Holy cow. But I'm so glad it is because with the month comes Christmas movies, drinking hot chocolate in excess amounts, the justification to pig out on every dessert imaginable, and all things red and green. Oh, and penguins. I love penguins. Obsessed is probably the better word to use. Today I want to show you my Christmas tablescape and my super easy and festive DIY napkin rings.


I mean, these were seriously easy and they make such a big impact on my table! Here's what you need to make your own. They literally take like 3 minutes. 


 Supplies:

Hot Glue Gun
Bouquet of small poinsettias 
(I got mine at Old Time Pottery for $1)
Elastic Hairties
To put them together, I cut the stems off the flowers and hot-glued the flowers to the hairties. The gold balls were actually on another bouquet of poinsettias that I bought at the same time. I thought they added an extra pop. I just cut them off of their original bouquet and stuck it through the holder. And there you have it. Super easy 3 minute napkin holders for your Christmas table!


I pretty much love them. I ended up changing my placemats to the ones in the picture below because I had forgotten I had them and I liked them better than the ones in the pictures above. Pardon the terrible picture quality of my tablescape. I ended up taking these on my phone. Also ignore the mess in the background!


The tablecloth was one of our wedding gift card purchases and we will be able to use it year round. The chargers and napkins were from Old Time Pottery as well. OTP is the best. So cheap. I bought the votive holders and the glass Christmas tree a long time ago. Pretty sure I got them at Wal-Mart after Christmas one year when everything was on sell.  It's really simple but as a poor medical student, simple is really all I can do. That's all I have for today! Have a wonderful rest of the week!


Tuesday, June 19, 2012

Tutorial Tuesday #3: DIY Kitchen Decor


11 comments
Pin It

Another Tuesday is here yet again. Summer is going way too fast. Today's project was supposed to be last weeks. I finally got around to going back to WalMart to get hooks to hang these babies. Also, this project is so simple, I almost feel like I'm cheating you. So instead, I'm going to tell you how I made both parts to my kitchen wall decor.


The EAT was ridiculous how simple it was. It honestly shouldn't even count as a craft because I don't feel like I did anything. Basically, I went and bought 3 chipboard letters at the Hobs Lobs, used some black spray paint I already had, and sprayed away. I think the hardest part was waiting for it to dry. Sad, right?


I used a small sawtooth photo hanger on the back of each letter and hung them with a nail to give my final project.


The framed silverware was a project I found and completed a little over a year ago when I was first getting started with my crafting obsession and hadn't started medical school yet. It was right after Pinterest had first gotten started and I pretty much made every little craft I could find. Literally. I did two months of "a craft a day." You know, sort of like everyone does that "photo a day" thing. Now I don't have the time or the money for that. Sad day.
But, back to the framed silverware. I bought 2 forks, 2 spoons and 2 knives at the dollar store and spray painted them red. I did the same thing to the frames tht were also snagged from the dollar store. I bought 8.5"x11" damask scrapbook paper and glued it to the cardboard back that came with the frames. I used some E6000 to glue down the silverware to the paper and it's been holding steady ever since. I wish I had thought to spray the paper with some sealant before gluing down the silverware, but I guess it wasn't crucial since they still look as good as the day I made them.


And there you have it. Another Tutorial Tuesday has come and gone! Hope everyone has a great week. Happy crafting!


Tuesday, June 12, 2012

Tutorial Tuesday #2


4 comments
Pin It
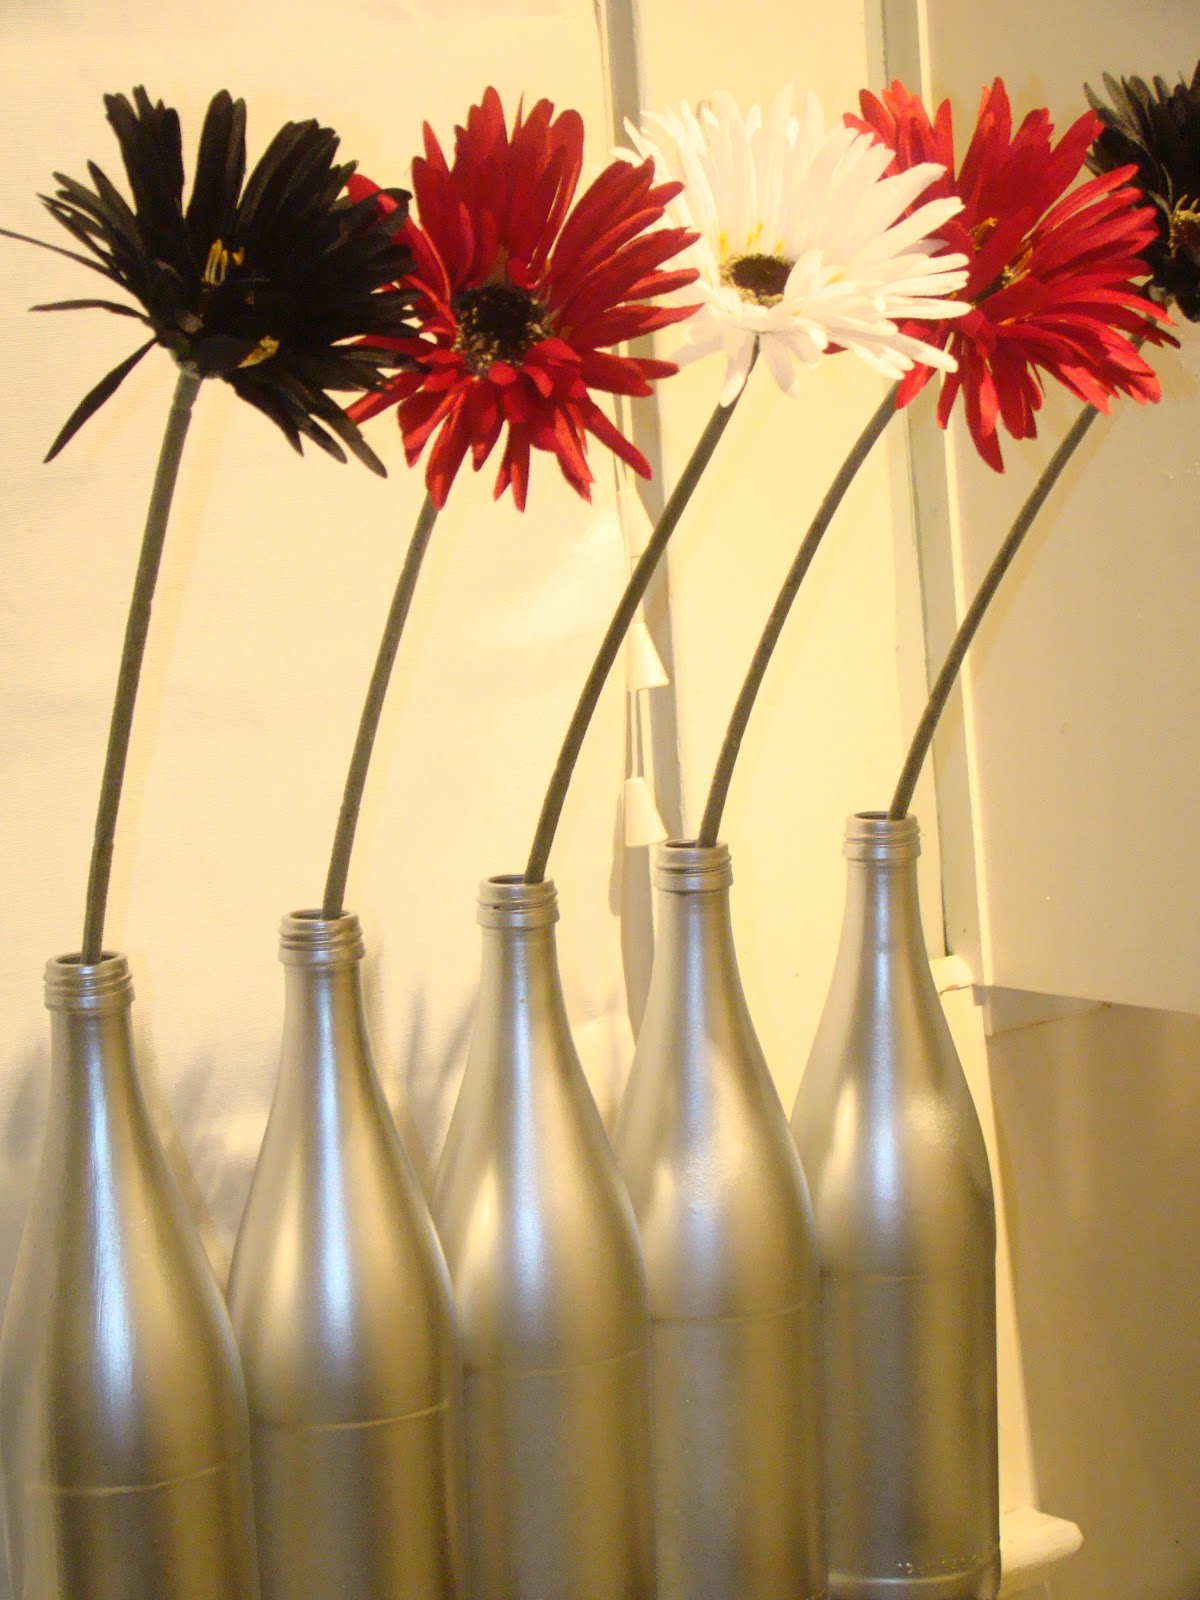
Happy Tuesday everyone! This is only my second Tutorial Tuesday and I already almost started slacking. The original project I had planned for today still needs to be hung so I can take pictures of it.  What's sad is that I was just at Wal-Mart today and didn't remember to get something to hang it with. But hey, if that's the only thing I forgot, I feel like I'm in pretty good shape. Today's new project was, of course, inspired by the one and only Pinterest. Lately, I've been admiring the millions of ways people have come up with to recycle their old wine bottles and I wanted to jump on the bandwagon to make vases for my kitchen. Seeeee?


There was only one problem, though. I don't buy wine so I didn't have old wine bottles. I ended up finding the perfect solution to my wine bottle woes! The grocery store sells glass bottled water for about a dollar a piece! Score. I did get some funny looks for buying glass bottled water though. Someone even asked me if it tastes different than regular water....
 

So, I drank the water, took off the labels (with Goo-Gone), and then got to crafting. And for those wondering, it tasted like regular water ;)


I decided these would look perfect as vases on top of our kitchen cabinets. There's nothing up there except some dust and it was just another way to spice up the kitchen. So, I spray painted them to match.


I first primed them with black primer.

Then, I spray painted them with a metallic finish. Metallic is always fun.


And there you have it, "wine bottle" vases. Easy peasy and not quite as creative as some of the others on Pinterest. Eh, whatever.


And this is their new home :)

I kind of love them. Except, the first time I walked into the kitchen after putting them up there, it kind of scared me because I forgot they were there. 

Hope everyone's having a great week! :)


Thursday, June 7, 2012

Fave Things Thursday


3 comments
This is another one of those new things I'm trying. Since a lot of my inspiration comes from Pinterest, Thursdays (or most, anyways) will be dedicated to the things that I find ever so inspirational. And, also in most cases, I'll link to them when I can. And just as a fair warning, some of these things may also relate to my next Tutorial Tuesday posts. :)

Today's inspiration is for the kitchen. In order to want to be in the kitchen (aka - COOK), I need to at least be surrounded by pretty colors/decor. I mean, who wants to cook in a drab kitchen (let alone, cook at all)? Am I right? One of my favorite kitchen decor trends right now is the "EAT" decor everyone seems to be buying or diy-ing. (Hey, that rhymed.) There are so many different and fun ways to make it suit your kitchen and these are the ones I really like.

How cute is this one with the spoon and fork?

Pinned Image

I pretty much love turquoise anything

Pinned Image

How adorable is the coral bunting above this one?

Pinned Image

I love the metallic look of this one

Pinned Image

Buttons!

Pinned Image

Last but not least, how sweet are these jars?

Pinned Image

I will somehow or another be incorporating the EAT decor in my kitchen. Granted, mine probably won't be anything extravagant but I think it will look great with the spoon, fork and knife frames I already have hanging on the wall. Picture of that to come soon!

Happy Thursday everyone!


Thursday, May 17, 2012

DIY Bookshelf Upcycle


10 comments
Pin It
I have officially finished my big project! And by big, I just mean that it's the biggest project I've ever done. When the fiance moved into our apartment, we ended up getting two new bookshelves and couldn't decide what to do with his old one. My dad suggested using it in our kitchen since we don't have much storage space. It turned out to be a fantastic idea on his part. We really wanted to find a hutch or something similar with some cabinet space, but it ended up not being in our budget right now. Since we're both on med school salaries and all.
It was looking a little on the dingy side and the wood laminate look just wasn't cutting it in the kitchen. So, I decided to redo it. 

See what I mean: 


Mom gave me some old black paint they had stored in the garage a few days ago and after finding out the paint under our sink wasn't white like I originally thought, the black ended up saving the day! I bought a $7 can of primer, a few sheets of pretty paper to match the other decor in the kitchen, a roller, and two plastic paint holders. The primer I bought was fantastic because it didn't require that the bookshelf be sanded beforehand.


The first thing I did was take the back off.  It was just a piece of flimsy cardboard so it was pretty easy to get off.

The next thing I did was prime the entire piece. One coat was sufficient.

While it dried on the balcony, I went ahead and ModPodged the papers to the backing I pulled off in my first step. I was worried that the lines would show where I put the pieces together, but it doesn't show at all. I was pleasantly surprised! I also did a coat of Mod Podge on top.

Then I painted it with two coats of the black and nailed the backing on. And now I have a completely new bookshelf. Well, technically it's a pantry now.

I think Martha would be proud.

Also, I absolutely adore damask print!

Finished product:


I think my next project will be to work on some type of food storage system! Maybe some glass containers with some pretty labels? Hmmm. I'll keep brainstorming that one. 
Happy Thursday!


LinkWithin

Related Posts Plugin for WordPress, Blogger...